Detailed Construction Plans for a 12' x 16' Shed
This document provides comprehensive, step-by-step instructions for the construction of a 12' x 16' shed. It outlines the necessary materials, tools, and procedures, aiming to guide even novice builders through a successful project. Safety precautions should be observed throughout the construction process. Always wear appropriate safety gear, including eye protection, gloves, and hearing protection. Consult local building codes and obtain necessary permits before commencing construction.

Phase 1: Site Preparation and Foundation

1.1 Site Selection and Leveling:
Select a level, well-drained location for your shed. Clear the area of any vegetation, debris, and rocks. Use a shovel and level to ensure a perfectly flat surface. Minor grading may be necessary to achieve a level base. Consider the proximity to utilities and access for delivery of materials.
1.2 Foundation Construction (Concrete Slab):
For a durable and level foundation, a concrete slab is recommended. The following steps outline the process:
- Excavation: Excavate a level area 4" deeper than the desired slab thickness (typically 4"). The dimensions should be slightly larger than the shed footprint (12'6" x 16'6" is recommended to allow for a slight overhang).
- Formwork: Construct a formwork using pressure-treated lumber to contain the concrete. Ensure the formwork is plumb and level.
- Gravel Base: Place a 4" layer of compacted gravel within the formwork to provide drainage and stability.
- Vapor Barrier: Lay a 6-mil polyethylene vapor barrier over the compacted gravel.
- Rebar Installation: Install a grid of rebar (typically #4 rebar) within the formwork to reinforce the concrete. Ensure the rebar is at least 3" from the top and bottom of the slab.
- Concrete Pouring: Pour the concrete, ensuring even distribution and eliminating air pockets. Use a vibrator to consolidate the concrete and remove any trapped air.
- Finishing: Finish the surface of the concrete slab to achieve a smooth, level finish. Allow the concrete to cure for at least 7 days before proceeding to the next phase.
1.3 Material List for Foundation:
- Pressure-treated lumber (for formwork)
- Gravel (approximately 1 cubic yard)
- 6-mil polyethylene sheeting
- #4 rebar (approximately 100 linear feet)
- Concrete (approximately 4 cubic yards)
- Concrete vibrator
Phase 2: Frame Construction
2.1 Floor Joists:
Install pressure-treated floor joists (2x6 or 2x8 lumber) spaced 16" on center across the concrete slab. Secure the joists to the concrete using anchor bolts. Ensure proper leveling and alignment.
2.2 Floor Sheathing:
Apply plywood sheathing (typically 1/2" or 3/4" exterior grade plywood) over the joists, ensuring proper fastening and alignment. This creates a solid and stable floor for the shed.
2.3 Wall Framing:
Construct the wall frames using pressure-treated lumber (2x4 studs) spaced 16" on center. Use appropriate bracing to maintain squareness and stability during construction. Ensure proper nailing techniques for strength and longevity.
2.4 Roof Trusses or Rafters:
For ease of construction, prefabricated roof trusses are recommended. Alternatively, you can construct roof rafters using 2x6 or 2x8 lumber, following appropriate calculations for span and load-bearing capacity. Properly secure the trusses or rafters to the top plates of the wall frames.
2.5 Material List for Frame Construction:
- Pressure-treated lumber (2x6 or 2x8 for joists, 2x4 for studs, 2x6 or 2x8 for rafters/trusses)
- Exterior grade plywood (for floor sheathing)
- Anchor bolts (for floor joists)
- Nails (various sizes and types)
- Roof trusses (prefabricated, if used)
Phase 3: Exterior Cladding and Roofing
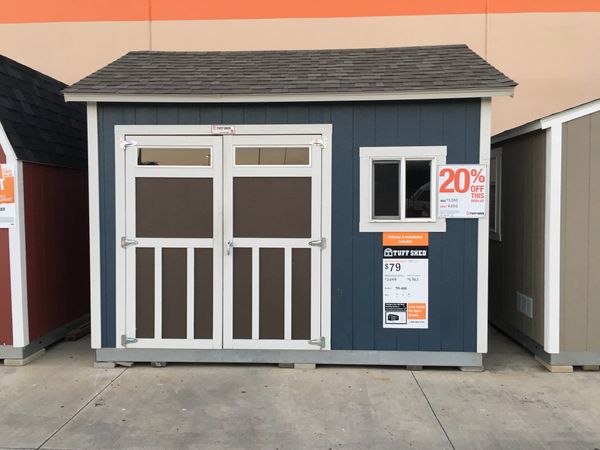
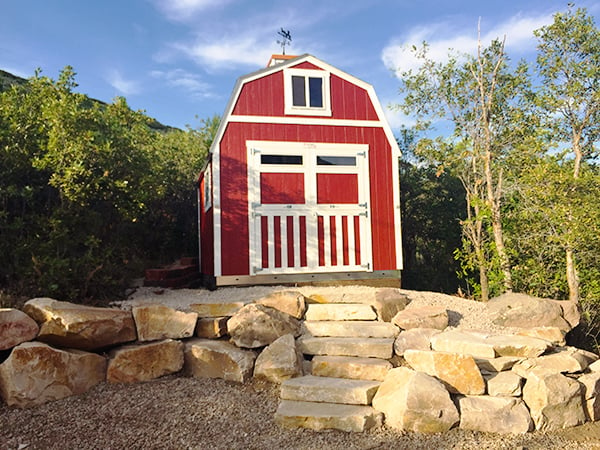
3.1 Exterior Cladding:
Install your chosen exterior cladding. Options include vinyl siding, wood siding, metal siding, or corrugated metal sheets. Follow the manufacturer's instructions for proper installation. Ensure proper weather sealing at all joints and seams.
3.2 Roofing:
Install roofing felt over the roof sheathing (if applicable). Then install your chosen roofing material, such as asphalt shingles, metal roofing, or other suitable options. Ensure proper overlap and sealing of the roofing material to prevent leaks. Install ridge vents and other necessary ventilation components to ensure proper air circulation.
3.3 Material List for Exterior and Roofing:
- Exterior cladding (vinyl siding, wood siding, metal siding, etc.)
- Roofing felt
- Roofing material (asphalt shingles, metal roofing, etc.)
- Ridge vent
- Flashing
- Nails and screws
Phase 4: Doors, Windows, and Finishing Touches
4.1 Door and Window Installation:
Install the door and window units, ensuring proper framing and sealing. Use appropriate weatherstripping to prevent air leaks and moisture intrusion. Ensure that the door and window openings are properly sized and framed to accommodate the chosen units.
4.2 Interior Finishing:
Apply interior wall covering, such as drywall or paneling. Finish the interior walls and ceiling with paint or other appropriate finishing material. Install any desired interior shelving or fixtures.
4.3 Material List for Finishing:
- Exterior door
- Windows
- Drywall or paneling
- Paint or other wall covering
- Shelving materials
This detailed plan provides a comprehensive guide for the construction of a 12' x 16' shed. Remember to always prioritize safety and consult local building codes. Proper planning and meticulous execution are crucial for a successful and long-lasting structure. Consult professional builders for assistance if needed. This plan serves as a guide, and modifications may be required depending on specific site conditions and materials used. Accurate measurements and careful planning are essential throughout the entire construction process.